
Transfer Files Between iPhone and Windows with LocalSend
Transfer files between iPhone and Windows with LocalSend. Check the receiver, find the saved copy and resolve nearby-device discovery without a cloud account.
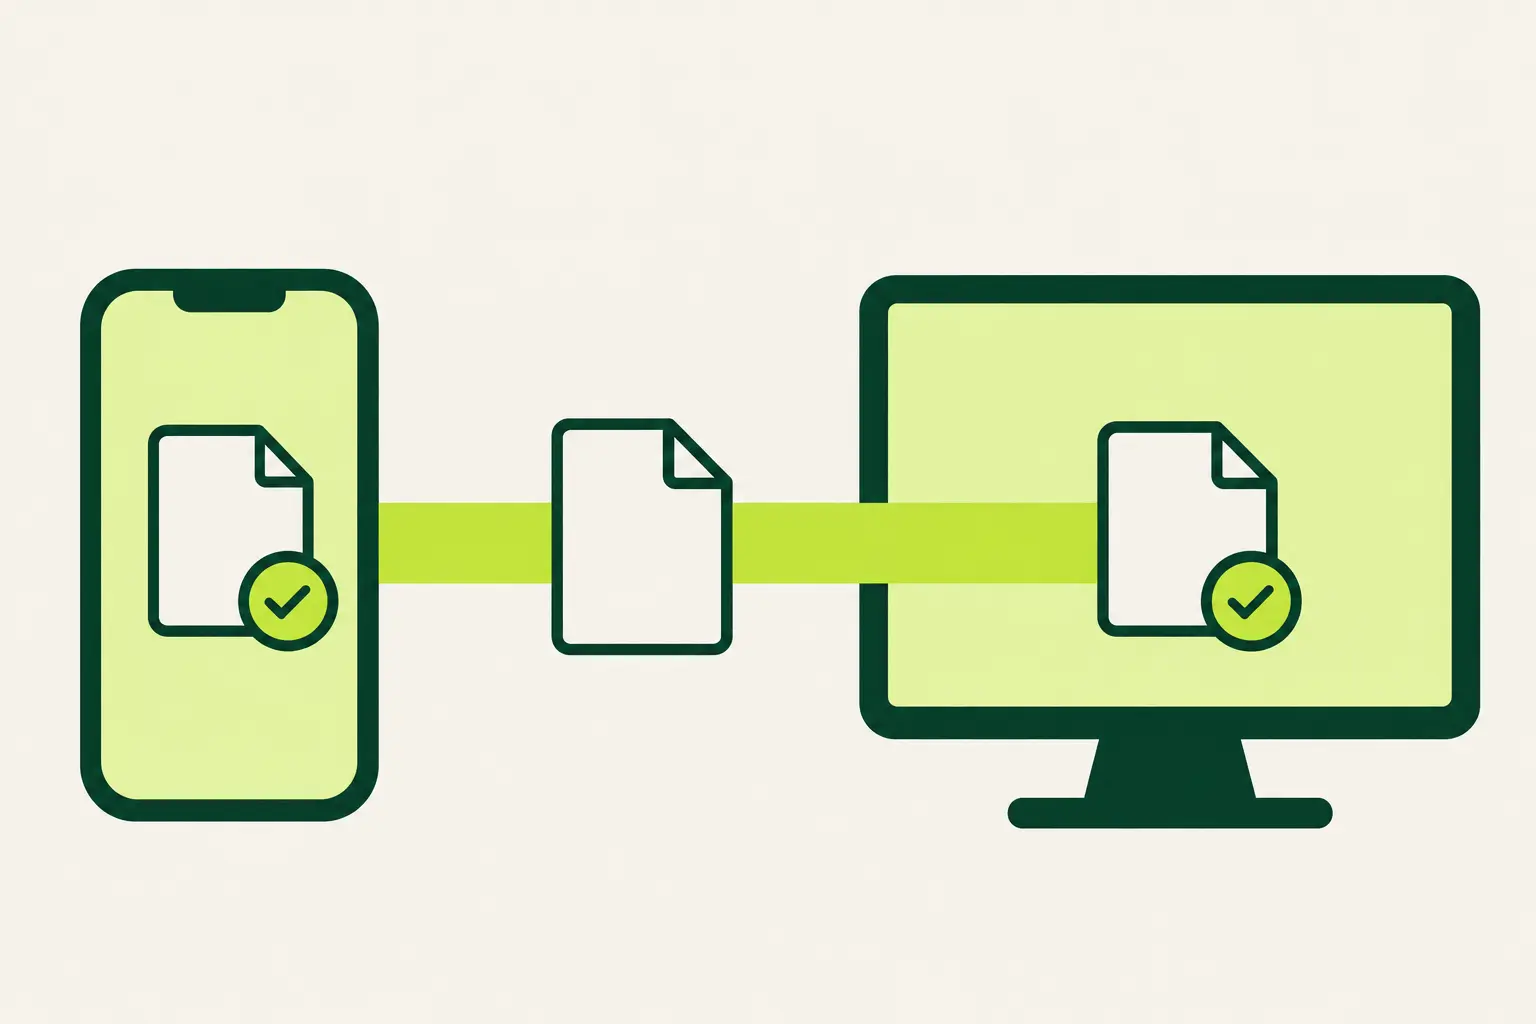
To transfer files between iPhone and Windows with LocalSend, install the app on both devices, open it on a reachable local network, then select a file and the intended receiver. After the transfer finishes, open the received copy and check it before removing the original.
This is a nearby file handoff: a photo for editing, a PDF for reading, or a document that needs to move between two devices. The steps follow LocalSend’s official documentation and released app source. They are a sourced procedure, with no transfer-speed benchmark or hands-on reliability verdict.
Check the network and install both apps
Start at the official LocalSend download page and install the native app on your iPhone and Windows computer. Check compatibility in the linked distribution channel. The current iPhone listing requires iOS 13 or later; the project’s compatibility table lists Windows 10 or later.
Have these ready:
- Both devices on a trusted local network that allows them to communicate.
- LocalSend open on both devices.
- Permission for the app to find nearby devices on the local network.
- One small, non-sensitive file for the first transfer.
LocalSend’s official product guidance explains that this native-app transfer needs a local network but does not need internet access or a LocalSend account. Download the apps before trying an offline transfer. A shared Wi-Fi name alone does not establish that two devices can reach each other: guest and managed networks may isolate clients.
Keep encryption enabled. This procedure uses the installed apps; browser and share-link modes have different steps and are outside this walkthrough.
Send a file from iPhone to Windows
Begin at the receiving computer so you can identify it before sending anything.
- Open Receive in LocalSend on Windows and note the device name shown.
- Open Send on iPhone. Choose Files for a document or Media for a photo or video, as appropriate for the picker offered.
- Review the selected item, then look under Nearby devices for the matching computer name.
- Choose that receiver. At the computer, inspect and accept the request if confirmation is enabled.
- Wait for the transfer to finish before switching to a larger batch.
The control names and receiving flow are documented in the released app’s English labels and receiving screen. Language and platform layouts can differ.
Check the receiving settings rather than expecting a prompt every time. LocalSend has Quick Save and Quick Save for Favorites modes that can accept transfers automatically. Its optional Require PIN setting adds a verification step. Compare the intended device name on both ends; encryption does not choose the recipient for you.
To send a file from Windows to iPhone, reverse the roles: inspect Receive on iPhone, use Send on Windows, select the file and choose the matching iPhone. Review the receiving and saving options on the phone before sending.
Find and check the received copy
Completion is easier to trust when you know where the copy went. Review the receiver’s save destination before sending a batch. The released app includes saving controls for folders and media, so do not assume every iPhone transfer lands in Photos or every desktop setup uses an unchanged Downloads folder.
For the first item:
- Find it in the selected folder or media destination.
- Open it in an appropriate viewer.
- Confirm that it is the intended document, image or video.
- Keep the original until you have checked the copy and any backup you need.
Moving a file does not establish that the receiving computer can open its format. A photo or document may still need a compatible viewer. This workflow also does not set up ongoing folder sync or a phone backup; decide separately how you want to retain your files.
If the other device does not appear
Work through reachability before repeatedly resending. The project’s setup notes explain why local-network access and network policy affect discovery.
- Check both apps. Keep them open and confirm that the receiving device is ready.
- Review local-network permission. On iPhone, review LocalSend’s Local Network access in Settings. Its permission explanation describes finding and connecting to nearby devices. Photo access serves a separate selection or saving task.
- Check the network boundary. A guest network, managed network or VPN policy may prevent local peers from communicating. Use a suitable network you are authorized to use, or ask its administrator which transfer method is supported.
- Review Windows app access. Keep Windows Firewall enabled. On your own trusted network, review the specific LocalSend allowed-app entry rather than opening broad access. Microsoft’s firewall guidance explains the difference between allowing an app and leaving a port open. Ask an administrator on a managed computer.
Keep the transfer local. Do not expose its service through router port forwarding to reach a remote recipient. If the network policy blocks nearby sharing, choose another approved method rather than disabling the network’s protections.
Decide whether this fits your next handoff
The same installed-app approach can connect with an Android device. Use LocalSend’s official download links, check compatibility in the selected channel and compare the receiver’s name. Saving and permission choices vary by platform; repeat the small-file check when changing devices.
LocalSend is a useful candidate when the job is moving a file between reachable nearby devices. A remote recipient or an ongoing shared folder calls for a different workflow.
- Install from the official distribution links and establish local reachability.
- Check the receiver and its acceptance settings before sending.
- Open the received copy before treating the handoff as complete.
Read the LocalSend profile for its selection notes and source links. If skipping separate signup matters for other tasks too, explore the apps without a separate account collection; account requirements, cloud sync and data handling remain separate questions.